How to install LabVIEW
Estimated Reading Time: 3 MinutesHOW TO INSTALL LABVIEW
Note: These instructions are based on the newer installation system introduced by National Instruments at the 2019 release. These instructions cannot be relied upon to install versions 2018 and older.
Prerequisites (recommended): It is always a good idea to make sure your system is fully updated and patched. Please check your Windows Updates for all security and driver updates before performing this install. Also close all nonessential applications you may have running.
1. Locate the installation files for Labview stored on the CCIT Software Repository also known as the “R: Drive”. See HDKB 116 for detailed instructions to access the Software drive. Or go to Folder, This PC, Map network drive, use \\software\software (giving it a letter) and find the Labview folder.
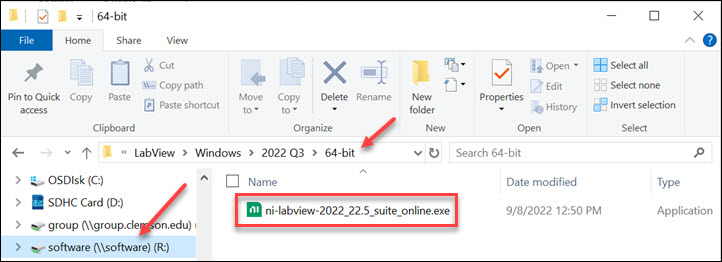
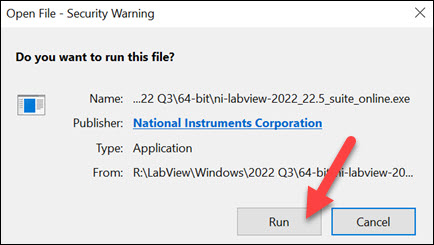
2. Double-Click on the application to begin the installation and then you may see a Security Warning*.
* The Security Warning box will only appear if you are running this installation from the network share. Click Run.
3. Select Yes at the User Account Control Prompt.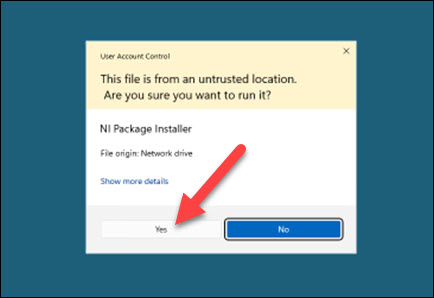
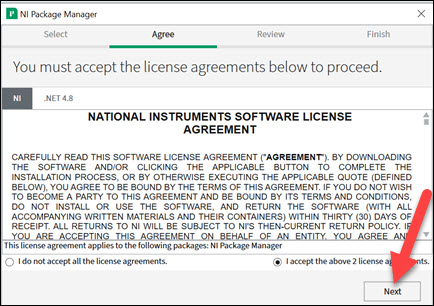
4. Accept the license agreement and click Next.
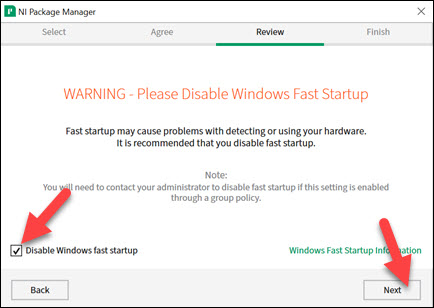
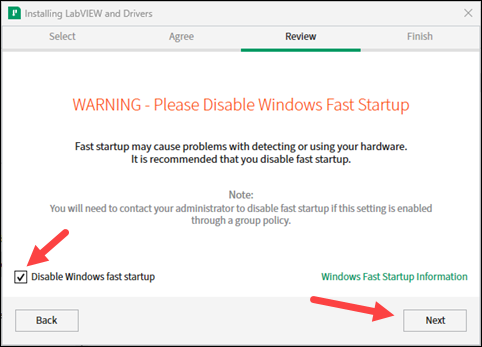
5. Uncheck “Disable Windows fast startup” then press Next.
* While NI warns you very loudly here, we’ve never really seen a concrete consequence of turning this off and Labview performance. That being said, if you are going to be using Data acquisition cards or usb devices, you may want to leave this checked.
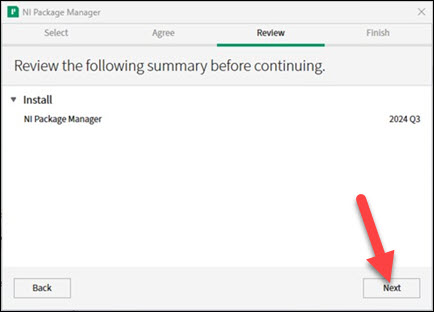
6. Click Next to begin the installation of the NI Package Manager.
7. Wait while the installation processes. The main installer will begin after this completes.
.png)
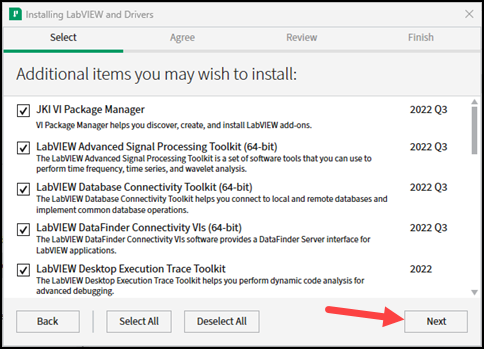
8. Select options you need to install for Labview or leave the defaults selected and click Next.

9. Installer will offer optional content or modules preselect to install. Leave the defaults or unselect the items you do not wish to add or press “Deselect All” to clear all options then click Next.
* These options are not required to complete the installation. These are just modules that NI thinks you may want. You can unselect all and still install the base Labview VI interface.
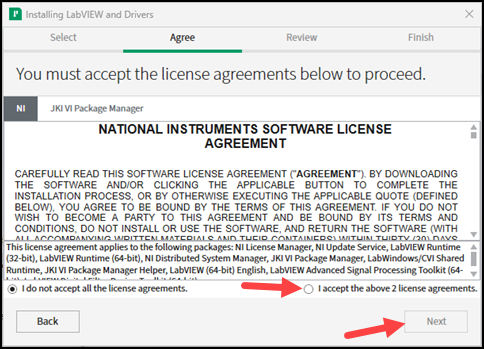
10. You may need to accept license agreements again if you left anything checked from the previous step.
11. Information about products to be installed. NI-TSU driver, Next.

12. Fast Startup Warning appears again. Uncheck “Disable Windows fast startup” then click Next.
* While NI warns you very loudly here, we’ve never really seen a concrete consequence of turning this off and Labview performance. That being said, if you are going to be using Data acquisition cards or usb devices, you may want to leave this checked.
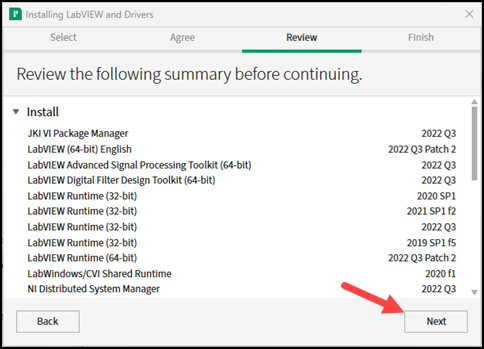
13. Review your install options then press Next.
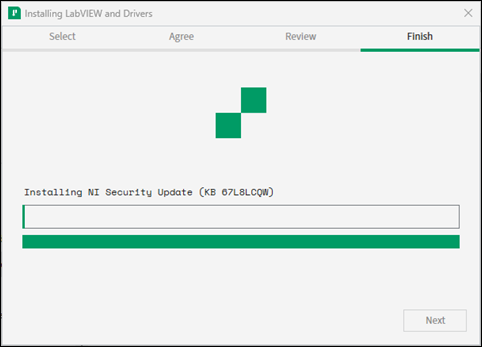
14. Installation will process.
15. Once the installation completes you will be queried about the “NI Update Service”. Select Yes or No based on your preferences.
.png)
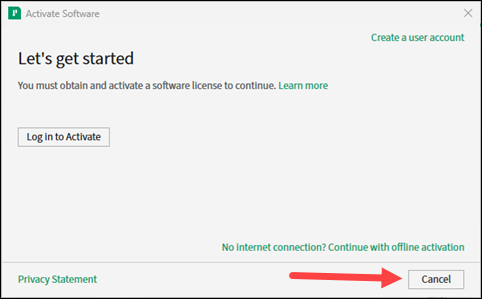
16. The Active Software screen will be displayed. Click Cancel on this screen.
* NOTE: You do NOT need a NI.com user account or “Log in to Activate” to license Labview to our network license.
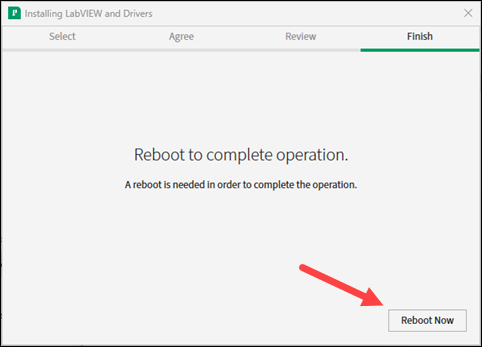
17. You may be asked to reboot to fully complete the installation. Please select Reboot Now.
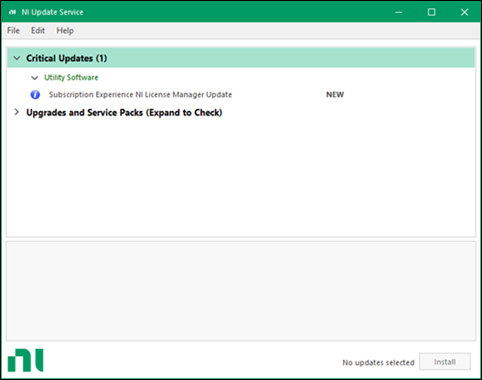
18. Once you log back in after the reboot, the NI Update Service application may display if you selected Yes in Step 14. You can close this application if you wish.
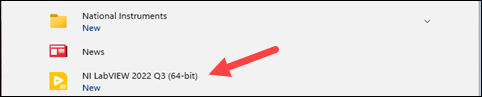
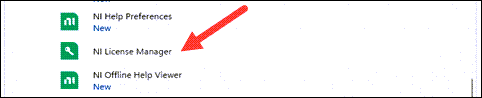
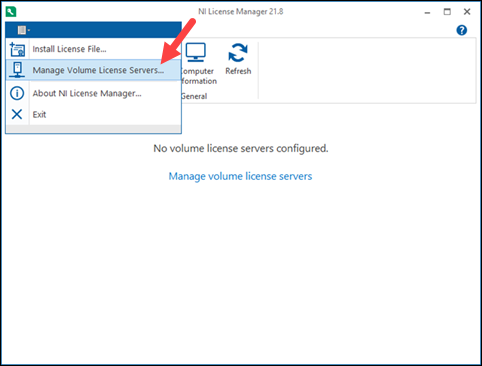
19. Let's now set up the network license information for Labview. Look for and expand the “National Instruments” folder in the Start Menu. Locate and click on NI License Manager to start up the application. (Or click on Start Menu and search for NI License Manager in the Apps.)
20. In the NI License Manager application, click on the highlighted icon in the picture below to display a drop down menu. Select Manage Volume License Servers.
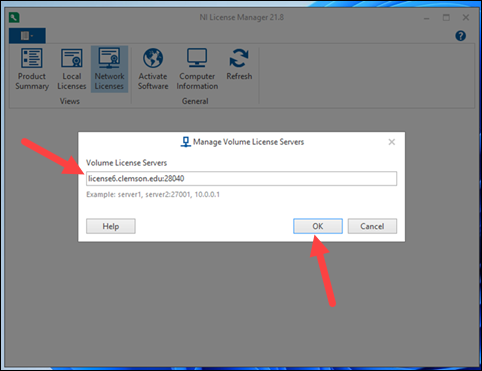
21. In the Volume License Server field, input the license server of license6.clemson.edu:28040 then click OK.
22. The License manager should now display the license info retrieved from the license server.
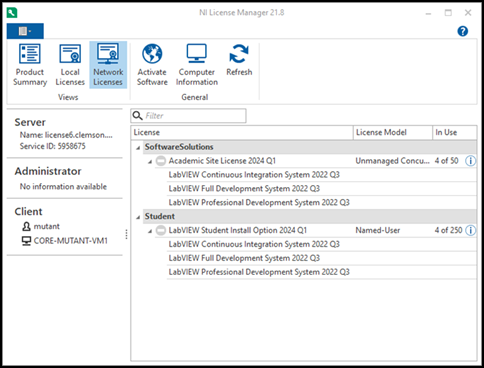
23. Your installation of Labview should now be properly configured to run Labview using the campus network license.