Transcription on Zoom
Estimated Reading Time: 1 MinutesUSING TRANSCRIPTION ON ZOOM
1. Install Zoom. Be sure to click on SSO on sign in screen and use Clemson as your domain, user@clemson.edu as your user name.
Here is some information about Clemson Zoom: https://www.clemson.edu/online/tools/zoom.html
Here is an article on getting started with Zoom at Clemson: https://ccit.clemson.edu/support/kb/?id=1324
2. Open Zoom app.
3. Click on New Meeting.
4. Click on Join with Computer Audio.

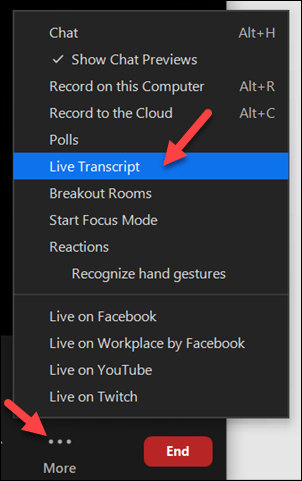
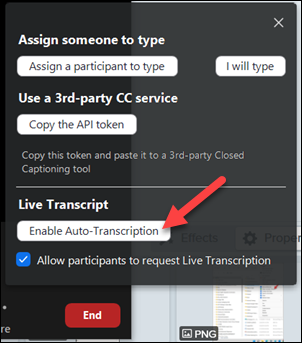
5. When the new meeting opens, click on More, Live Transcription. Click on Enable Auto-Transcription.
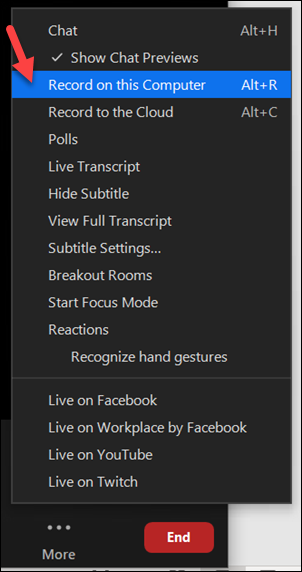
6. Click on More, Record on this computer.
7. Complete meeting speaking as close as possible to microphone (if quality is poor, consider a USB microphone or headset).
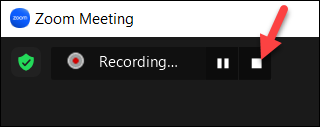
8. When finished, click on Stop recording (square at top of screen).
9. Click on End meeting for all
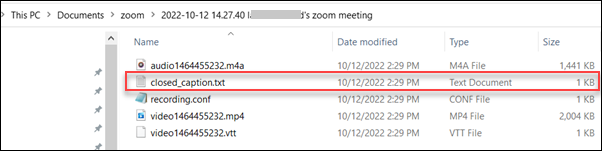
10. The folder where the files were saved should open and you will see a file named closed_caption.txt which will contain the transcription.
If you have more questions, email ITHELP@clemson.edu or call 864-656-3494.