HOW TO: Creating Listserv lists in Central
Estimated Reading Time: 2 MinutesCreating a Listserv In Central
Instructions for how to create a listserv
There are two ways to create a Clemson listserv.
- You can visit this link: https://ccit.clemson.edu/services/email-and-messaging/listserv/ and click on Click here for Listserv request form.
- You can visit http://central.app.clemson.edu, log in, and follow the instructions below.
1. Open a browser and go to http://central.app.clemson.edu and log in.
2. Click on +CREATE in the upper right hand corner.![]()
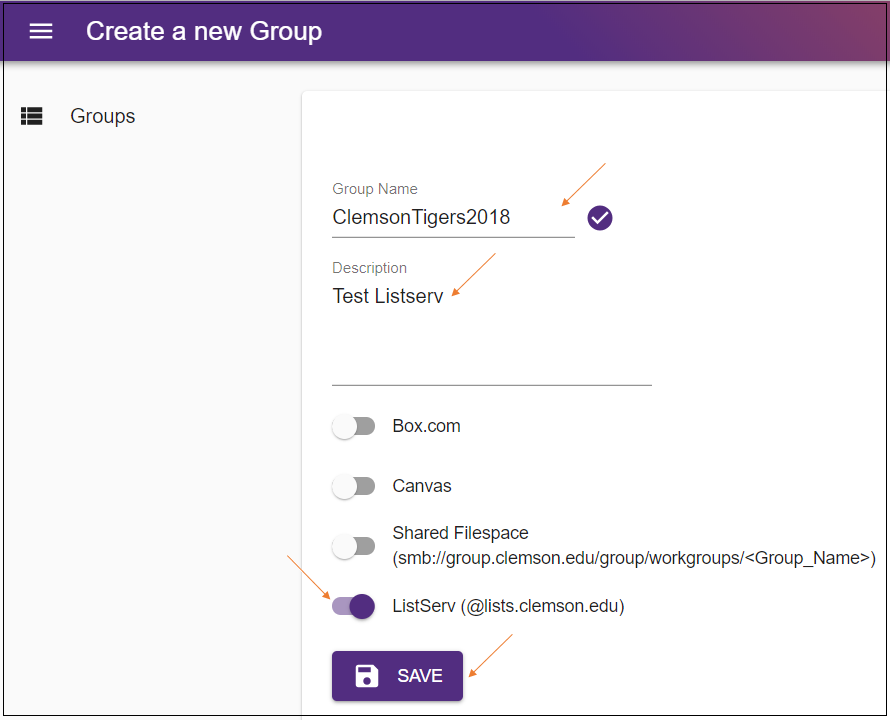
3. You will need a Group Name that has at least nine characters. That is what will come before @lists.clemson.edu so be sure to name it something that is pertinent to your group. Note that once you name your listserv, the name cannot be changed. If you type in a name that is available, you will see a checkmark beside it. Click on the circle beside ListServ. You may select any of the other options too if you like. Then click SAVE.
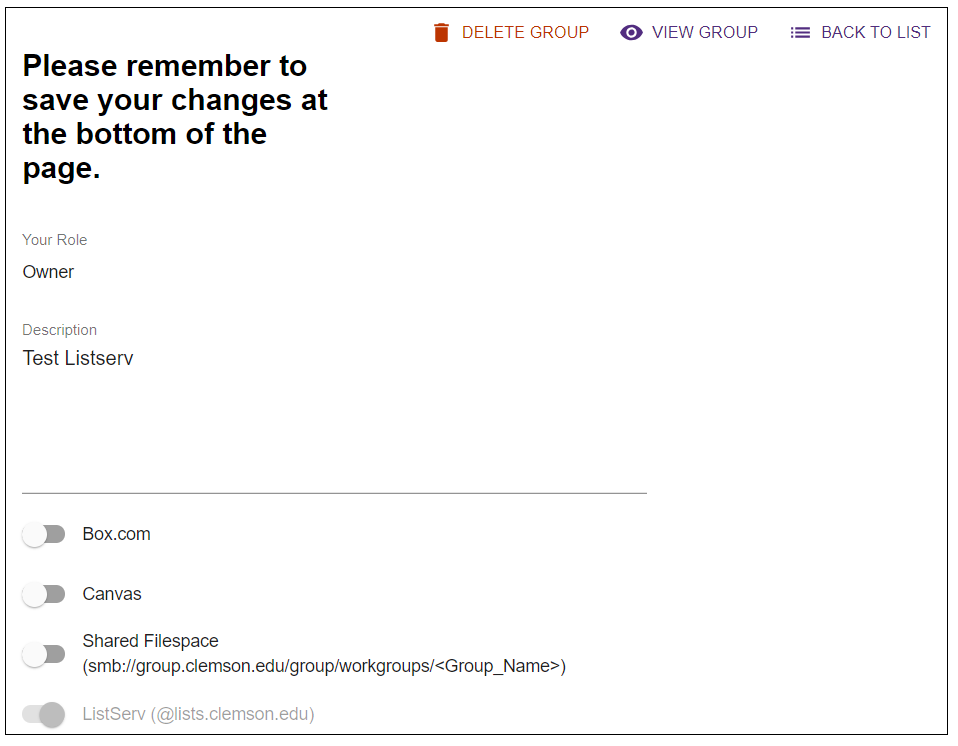
4. Next you will see this. Be sure to scroll down to see the last part of this page to select the options you want. Or if you would like to delete your group, that option is at the top of the page.
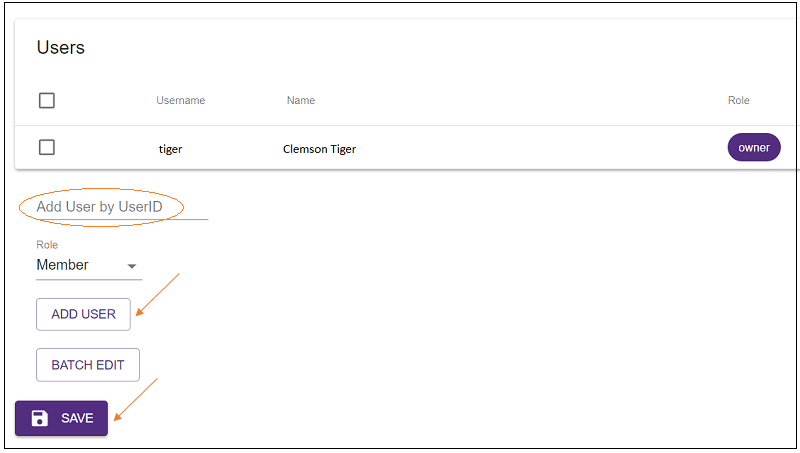
5. After scrolling down, you will see the option to add users to your Listserv. You may click in the "Add User by UserID" and manually type in each user if you would like. After typing in a user, click on the ADD USER button, and SAVE.
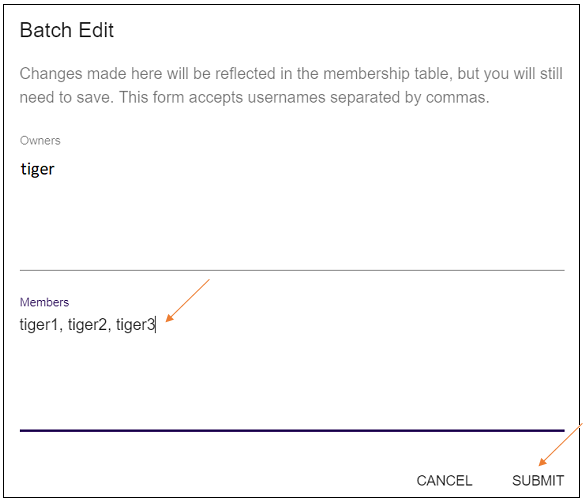
6. If you prefer to copy and paste or type in a group of users, click on BATCH EDIT. You may type in user names separated by commas. Or you may paste in a group of users you have copied from another source. To see instructions to do this from Excel, see HDKB article 163. After the list of members separated by commas is entered, click on SUBMIT.
You may add more users later from Central, or by using Listserv commands. See Basic Command Guide for Listserv List Owners to learn more about this.
If you have questions on this procedure, please send an email to ithelp@clemson.edu or call 864-656-3494.