Installing Skype for Business
Skype for Business, formerly known as Lync, is a communications tool that makes it easy to communicate and collaborate in real-time via instant messaging, audio calls, video calls, Web conferencing and desktop sharing. To install Skype for Business on your various devices, please follow the guides below.
Install Skype for Business for Android
- From your phone, click the to go to the Google Play Store, and search for Skype for Business for Android .
- Tap Install .
Sign in to Skype for Business for the first time
- Browse your apps until you find the Skype for Business icon and tap the icon to open the app.
- Accept the terms of service.
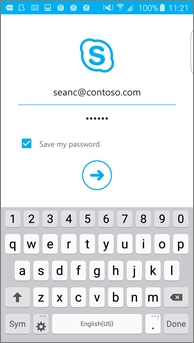
- Enter your sign-in address (for example, username@clemson.edu ) and Clemson password , and then tap the Advance button.
- Enter your mobile number with country and region codes. If you’re an enterprise voice customer, when Skype for Business can’t use a Wi-Fi or cellular data network to make an audio or video call, you’ll be called at this number and connected to the audio portion of the call.
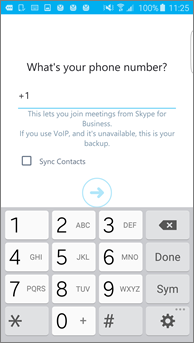
- Choose whether to sync your contacts, and then tap the Advance button to start using Skype for Business.
Sign out of Skype for Business
On the main Skype for Business screen, tap your picture, and then tap Sign out .
Installing Skype for Business for iOS
- From your phone, click the to go to the App Store and search for Skype for Business .
- The label for the app will actually be Skype for Business (formerly Lync 2013).
- Tap Get >Install .
- You may be prompted for your password which must be entered before the install will begin.
Sign in to Skype for Business for the first time
- On your iOS device, swipe each page of apps until you see the Skype for Business icon.
- Tap the Skype for Business icon to open the app.
- You will be prompted to allow or not to allow “Business” to send you notifications. You can choose OK or Don’t Allow .
- The next prompt would like to have access to our contacts. You may select OK or Don’t Allow.
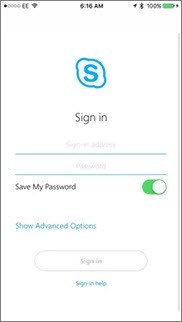
- Enter your sign-in address (for example, username@clemson.edu ) and your Clemson password , and then tap Sign In .
- Enter your mobile number with country and region codes. If you’re an enterprise voice customer and Skype for Business can’t use a Wi-Fi or cellular data network to make an audio or video call, you’ll be called at this number and connected to the audio portion of the call.

- Tap Next.
Sign out of Skype for Business
Tap your picture in the upper left-hand corner, and then Sign out .
Remove Skype for Business
To remove Skype for Business from your iOS device, tap and hold the Skype for Business icon until it shakes. Tap the "x" and then Delete .
How to install Skype for Business with Office 365 – Mac
- Sign in to Office 365 by either:
https://365.clemson.edu or
https://portal.office.com and log in with username@clemson.edu
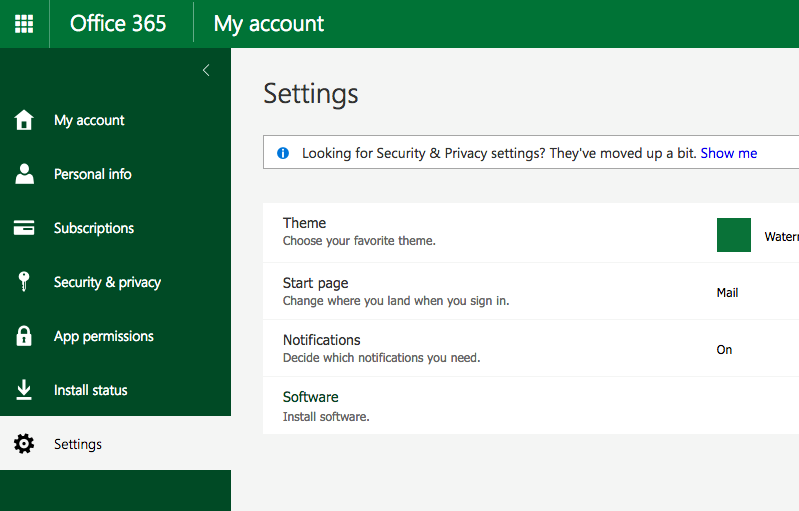
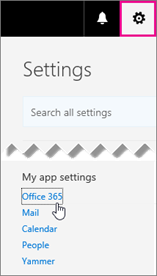
- At the upper right of the Office 365 screen choose the gear icon, the select Office 365 .
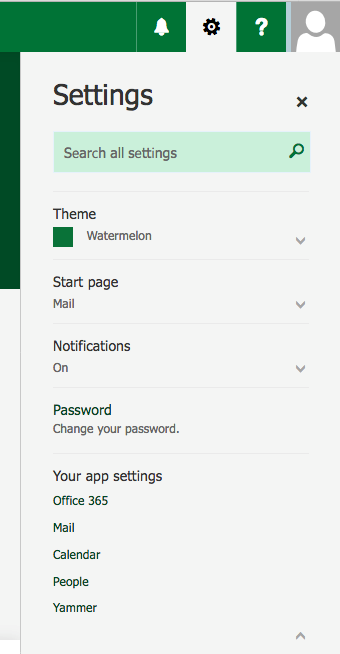
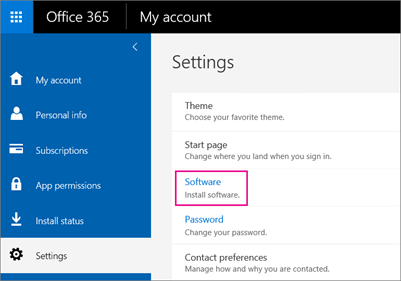
- From the settings page, select Software
- On the Software window, choose Skype for Business from the menu on the left. **Note: OS X does not support Skype for Business at this time but Lync has integrated many of the features.
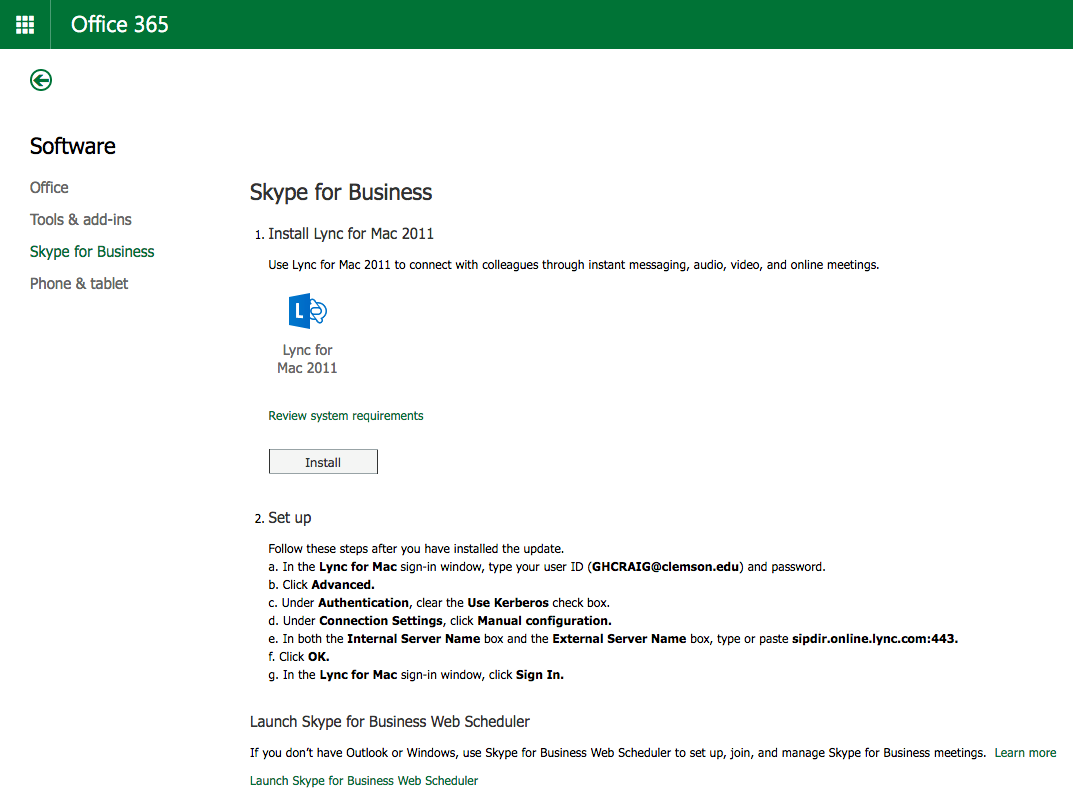
- Click Install**. Follow the instructions (repeated below)
Follow these steps after you have installed the update.
- In the Lync for Mac sign-in window, type your user ID ( username@clemson.edu) and password.
- Click Advanced .
- Under Authentication , clear the Use Kerberos check box.
- Under Connection Settings , click Manual configuration .
- In both the Internal Server Name box and the External Server Name box, type or paste sipdir.online.lync.com:443.
- Click OK .
- In the Lync for Mac sign-in window, click Sign In .
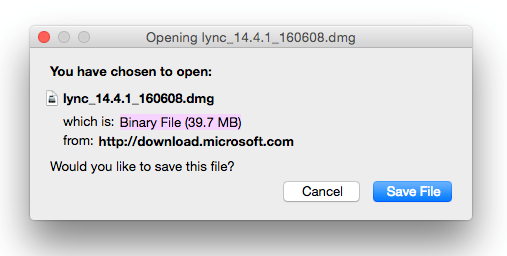
- ** At Install choose Save File .
- Double-click the Lync Installer.pkg
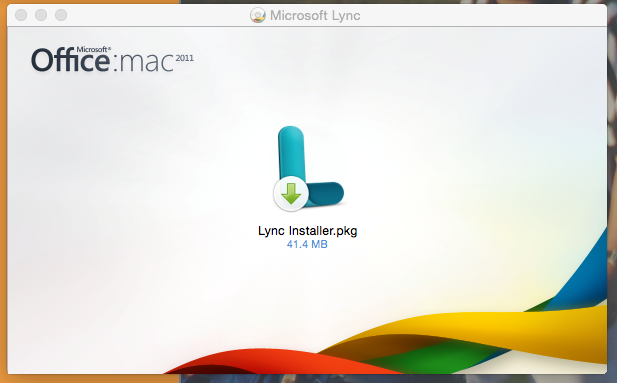
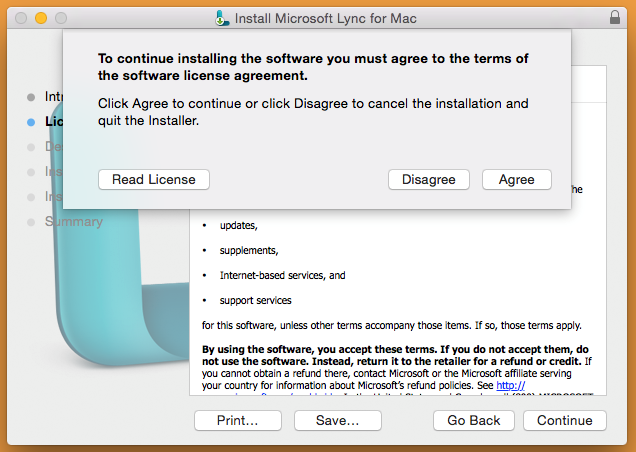
- Follow the installer instructions by clicking Continue, Agree and then Install.

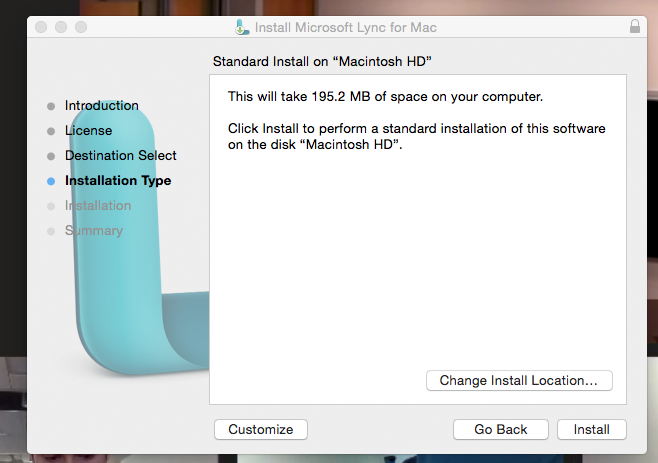
- Enter the password required for software installs. The installer will begin, displaying a progress bar. A screen will display for successful installation, close the window.
- When wanting to use Skype for Business, launch Lync .
For Windows 10 , the application should be under All Apps. Open it and skip to Sign in for the first time below.
For Windows 7 , follow the steps below:
Note: If you’re running Windows 7 and 32-Bit Office 2016, choose Lync Basic 2013 (it will change to Skype for Business once installed)
- Sign in to Office 365 by either going to https://365.clemson.edu or https://portal.office.com and log in with username@clemson.edu.
- At the top of your Office 365 page, click the gear icon and then "Office 365."
- Choose Software.
- Depending on your Office 365 plan:
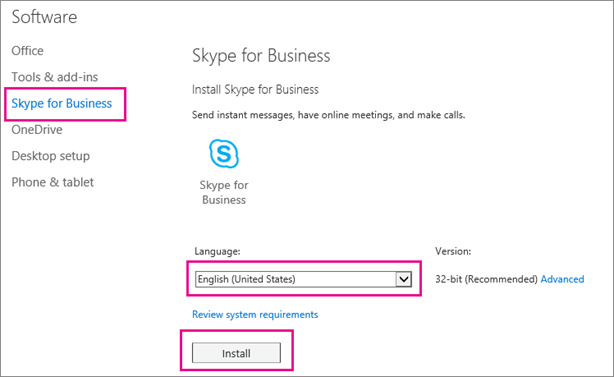
- If you see the following page, choose Skype for Business, choose your language, the edition that matches your other Office applications (32 bit or 64 bit - if you don’t know, choose the default) and choose Install. Then go to step 6.
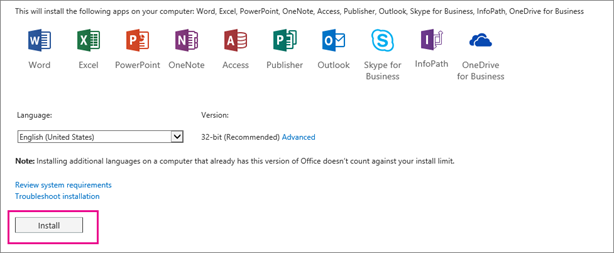
- If Skype for Business is bundled with other Office 365 applications, you’ll see the following page. Choose Install to install the Office 365 suite of applications, including Skype for Business. When you’re done, go to Sign in for the first time at the end of these steps.
- At the bottom of your screen, choose Save as to download the setupskypeforbusinessentryretail.exe file to your computer.

IMPORTANT : Note where you saved the setupskypeforbusinessentryretail.exe file on your computer. If Skype for Business stops during setup, this is where you go to re-run it.
- After the setupskypeforbusinessentryretail.exe file has downloaded, choose Run.

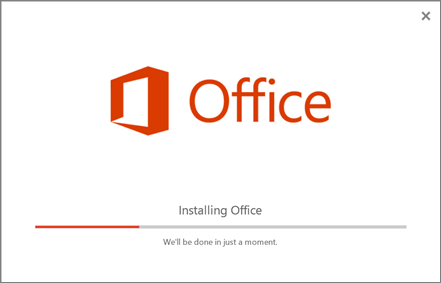
The Office installer starts, and displays a message that it’s installing Office. However, it’s only installing Skype for Business. It is not installing all of Office.
- When the Office installer is finished, it displays a message that Office was installed on your computer. However, only Skype for Business was installed. Choose Close.
- Launch Skype for Business. At the First things first box, if you accept the licensing agreement, choose Accept.
- You can install Skype for Business on up to 5 PCs. To install Skype for Business on another PC:
Sign in for the first time
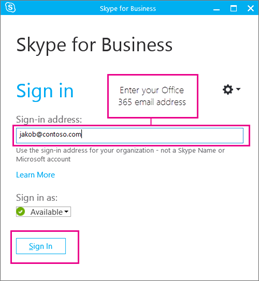
- At the Skype for Business sign in page, enter your Office 365 user ID username@clemson.edu and password, and then choose Sign in.
- Enter your password for Office 365.
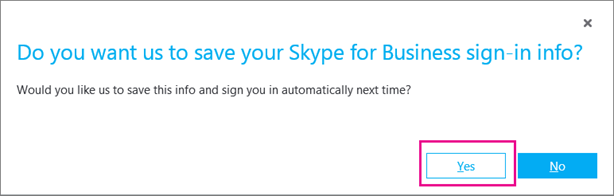
- At the next page, if you want to save your password for signing in next time, choose Yes.
- At the Help Make Skype for Business Better box, choose whether to allow us to collect error logs and device configuration info.
- Click the gear icon for preferences and to select audio and video devices.
Article ID: 600
Created: August 4, 2017
Last Updated: May 18, 2018
Author: Faye Buckley
Online URL: https://hdkb.clemson.edu/phpkb/article.php?id=600