SCHEDULE A MEETING WITH OUTLOOK USING CLEMSON EXCHANGE RESOURCES
This document applies to Microsoft Office Outlook Exchange for Windows or Mac. Below are instructions to schedule an in-person meeting - first for Windows, then for Macs.
WINDOWS
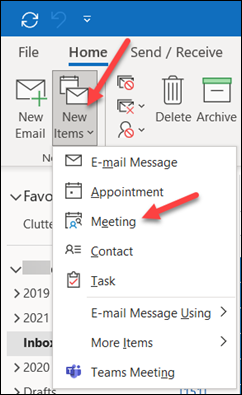
On the Home Tab, click New Items, then select Meeting.
In the Title box, type a description.
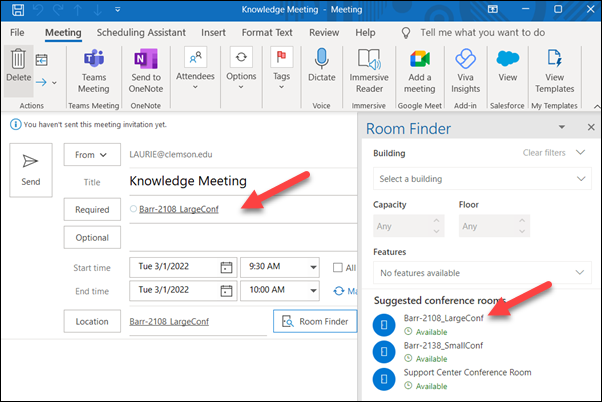
Click on Room Finder to choose from rooms available for automatic scheduling from the Clemson Exchange Servers.
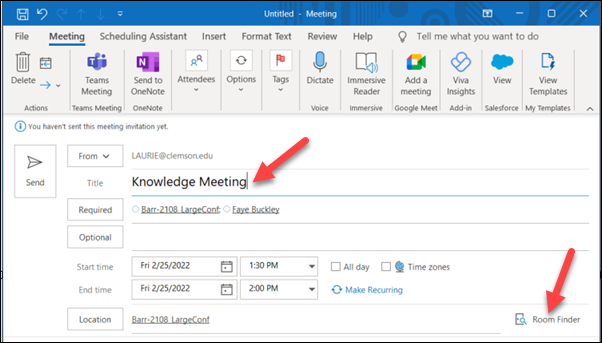
Select a room from the Room Finder and it will automatically populate the Required box.
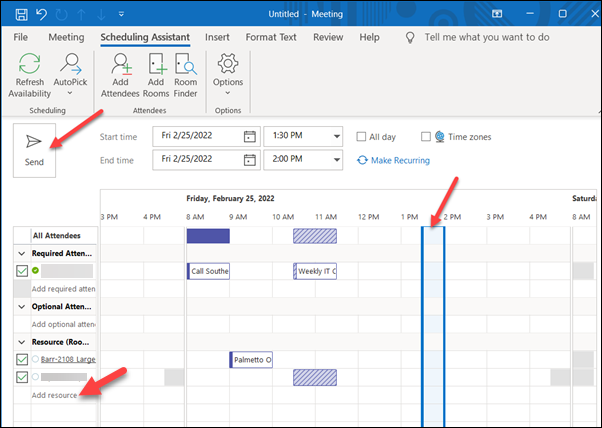
In the Start Time and End Time lists, select the start and end time for the meeting. If this is an all-day event, select the All day event check box. An all-day event is a full 24 hour event lasting from midnight to midnight. Or use the Scheduling Assistant tab. From here you can add attendees or other resources and see availability grid. You can click on the time(s) you want. When you are finished, click Send to send the invitation.
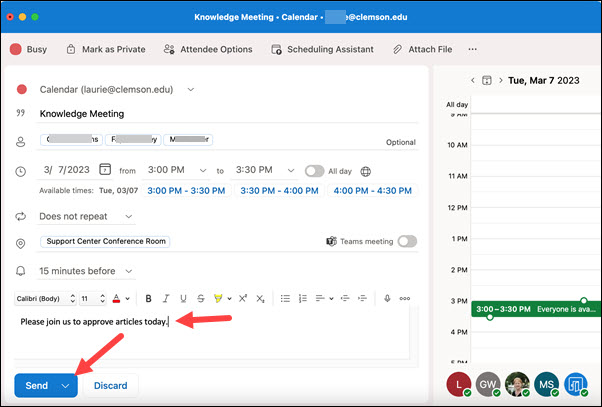
MAC
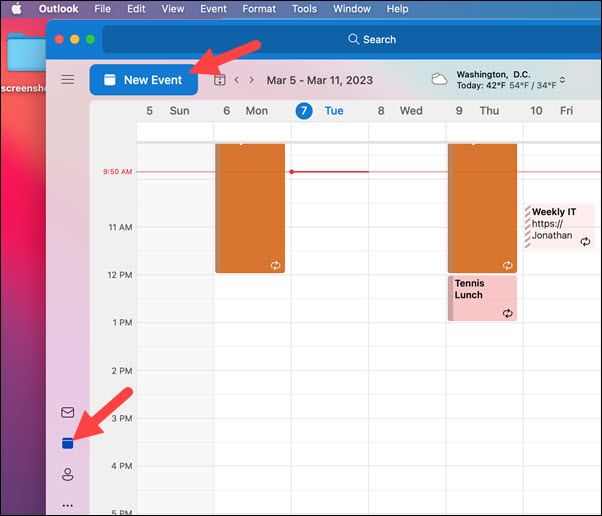
Open Outlook. Click on the Calendar icon on the left side of the screen, and then the New Event button at the top.
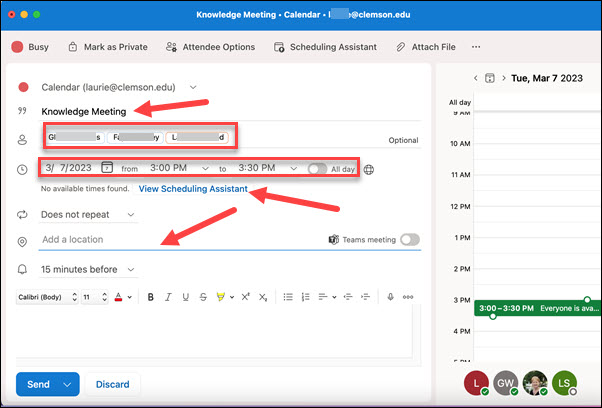
Fill in the Subject of the meeting, People you want to invite, the date and time, the location. Or you can use the Scheduling Assistant to pick and date and time when the room and the people are available.
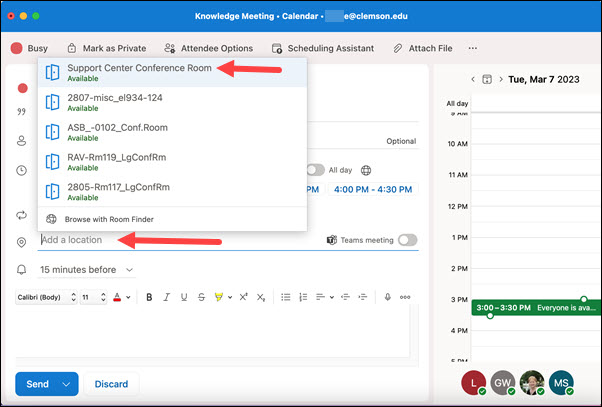
If you simply click on Add a location, you will see available rooms. Click on one to select it.
If you select the Scheduling Assistant, you will see schedules for People and Room and will have the opportunity to select a time that is okay for most or all of your attendees.
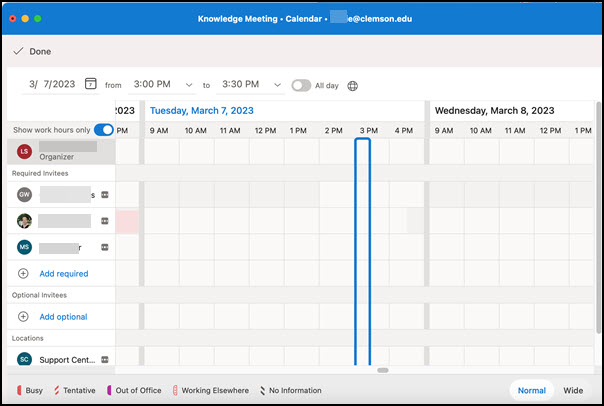
Once you have everything selected, you can type a message to go to the attendees and then click Send to send the invitation.
If you have more questions, call 864-656-3494 or email ITHELP@clemson.edu.
Article ID: 254
Created: April 23, 2015
Last Updated: May 7, 2024
Author: Faye Buckley
Online URL: https://hdkb.clemson.edu/phpkb/article.php?id=254